What You will Need?
- Dreamweaver - This tutorial assumes that you are using Dreamweaver CS3. There are versions of Dreamweaver for both Windows and Mac, either version will do fine. This tutorial demonstrates in the Windows version of Dreamweaver.
- A Web Hosting Account - You will need a web host to publish your web site pages. A web host can be referred as a computer that not only stores your website but most critically makes it possible for other people around the world to find your website on their computers. If you don't have a web host yet, you can sign up for a free or a paid hosting account.
Goal of this Tutorial
You will learn how to create a simple web page using Dreamweaver and publish it so that it can be accessed on the Internet. By the end of this tutorial, you will be viewing your web page on the Internet using your favorite web browser.
How to Define a Site?
A website is a collection of web files and folders that is related to each other. By defining a site, Dreamweaver helps you to keep track of the web files and folders organized. When you work with Dreamweaver, think site, rather than single web page files and your life will be much easier.
Defining a new site is the first step to creating a website in Dreamweaver CS3.
- Create a folder on your computer, which will store all your web site files and graphics.
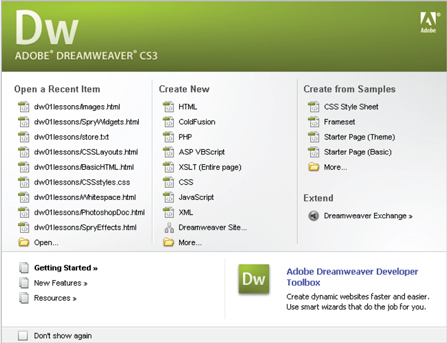
- Open Dreamweaver
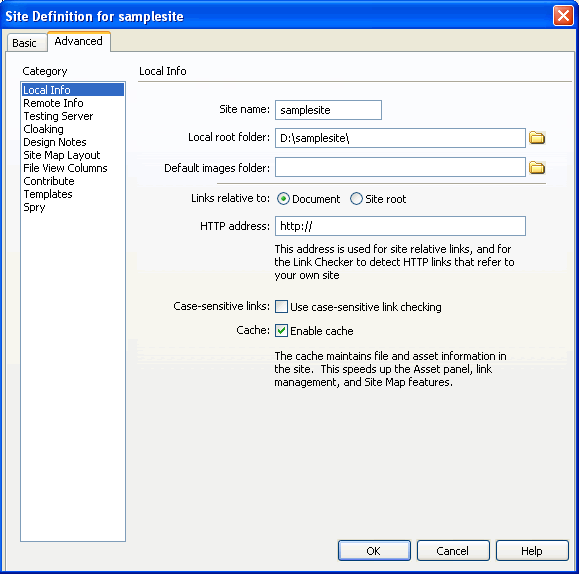
- Open the Site Files window. You can open this window by choosing Site -> New Site -> Advanced tab
- Fill in your Site Name in the Site name input field.
- Use the yellow folder icon next to the Local root folder box to browse to the folder you had created.
- Click OK button.